London:
Nationwide:
25,000+
Floors Restored
27 Years Experience
Wood Flooring Association Certified
Wood Floor Filling Tips: A Comprehensive Guide to Flawless Flooring
Posted on May 18, 2023
News
Wood Floor Filling Tips: A Comprehensive Guide to Flawless Flooring
Wooden floors exude charm, character, and timeless elegance. They add a warm and inviting feel to any home, making them an evergreen choice for homeowners. However, as with any other material, wooden floors can develop issues over time, one of which is gaps or holes. If left unattended, these can detract from the visual appeal of your floors and even cause structural problems. Fortunately, this is where wood floor filling comes in. This comprehensive guide of over 4000 words aims to provide practical wood floor filling tips to help restore your wooden floors to their former glory.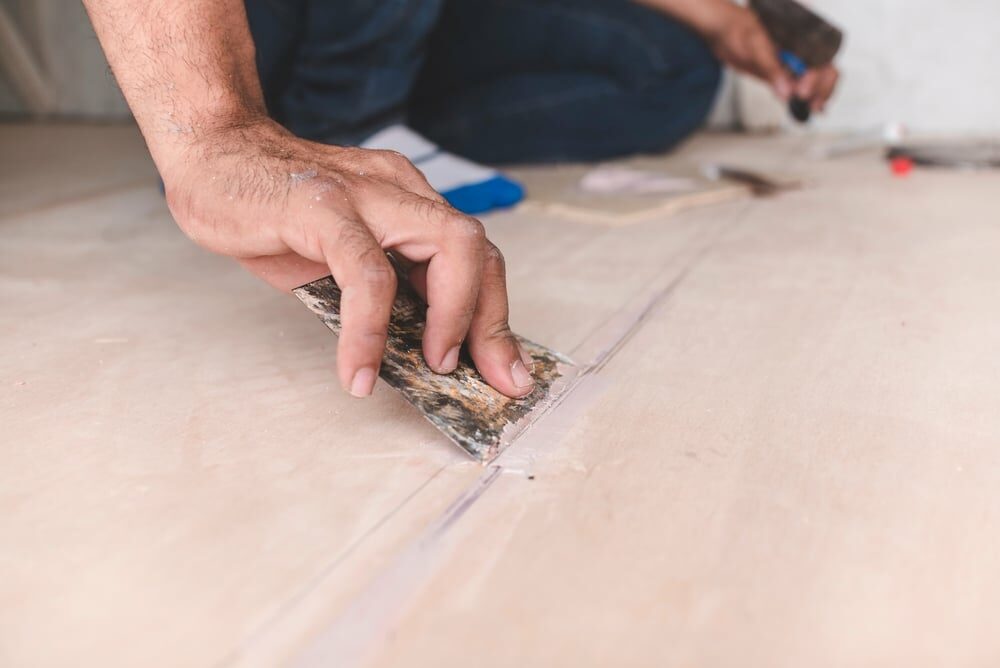
Understanding the Need for Wood Floor Filling
Gaps and holes in wooden floors can occur for various reasons. The most common cause is the natural expansion and contraction of the wood due to fluctuating humidity levels and temperature changes. Other factors could be ageing, wear and tear, and damage from furniture or high heels. Filling gaps is crucial for several reasons. Aesthetically, holes and gaps can make your floor look old and worn out. Functionally, they can harbour dust, allergens, and even pests. Structurally, large gaps might indicate underlying issues that could compromise the integrity of the floor if not addressed.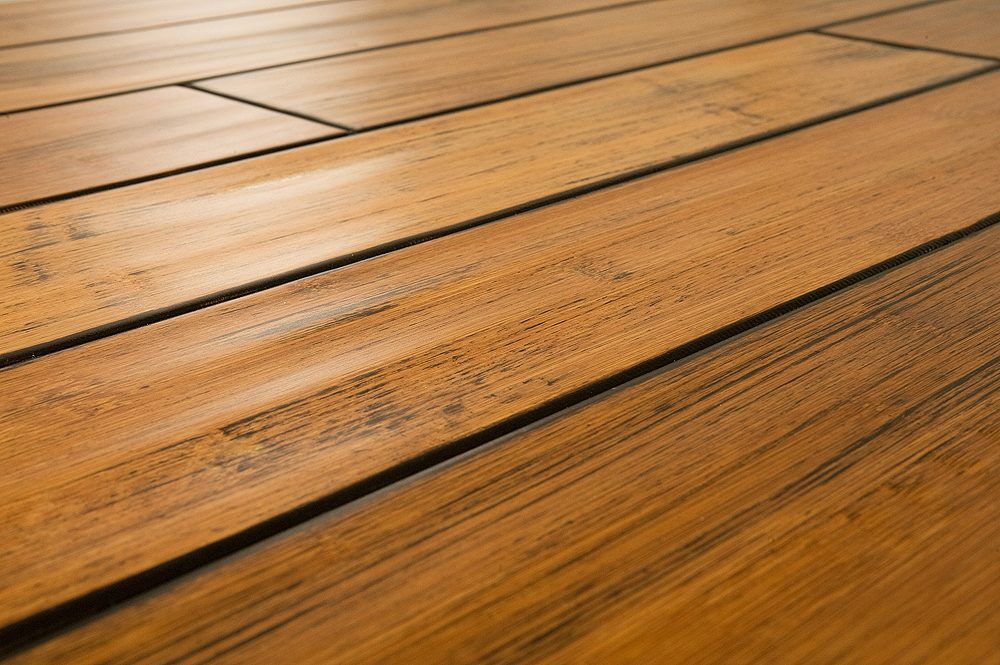
Choosing the Right Wood Filler
Before you can start the filling process, it’s crucial to choose the right wood filler that matches your flooring.1. Water-Based Fillers:
These are easy to use and clean up, dry quickly, and are generally non-toxic. However, they may not be as durable as other types and might shrink when they dry.2. Solvent-Based Fillers:
These are highly durable and ideal for filling larger gaps. But they have a strong odour and require more cleaning.3. Epoxy Fillers:
These fillers are incredibly durable and are perfect for filling larger gaps and cracks. They’re waterproof and resistant to temperature changes, but they can be challenging to work with due to their quick-drying nature.4. Wood Dust and Resin:
A mixture of wood dust and a binding agent like resin can be an excellent filler, as it ensures a perfect match with your floor. It’s a preferred method for many professionals.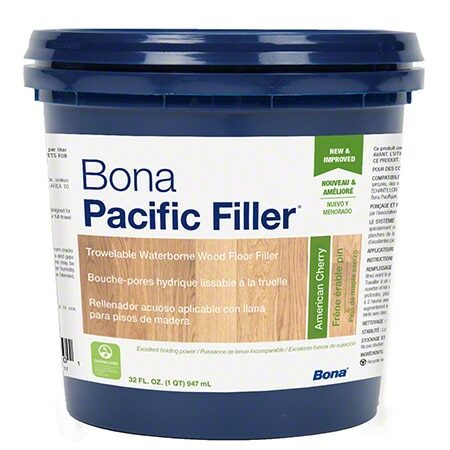
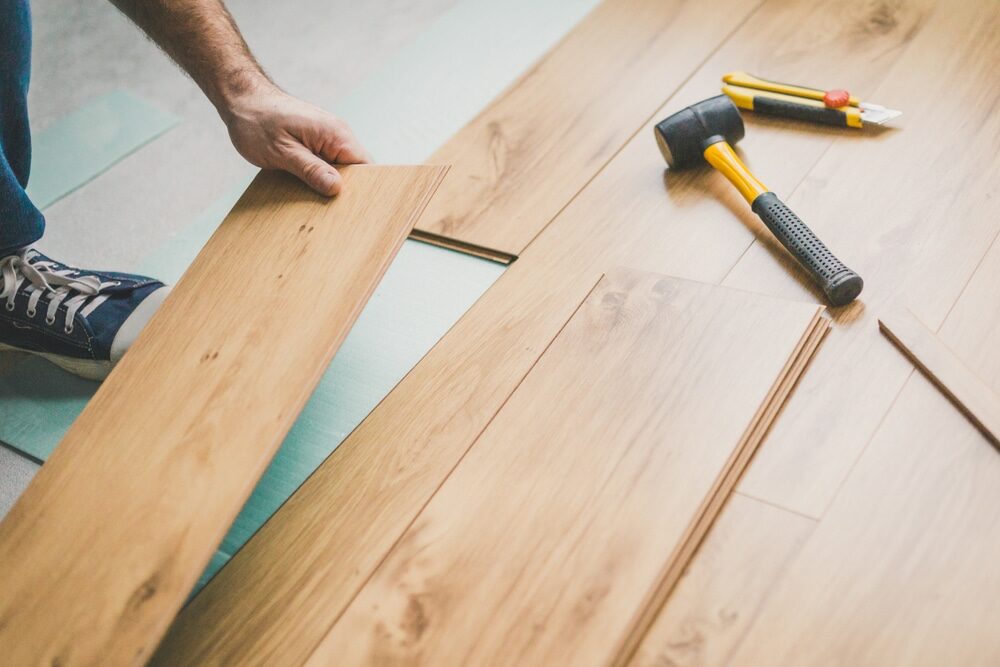
The Wood Floor Filling Process
Once you’ve selected the right filler, it’s time to move on to the filling process. Here are step-by-step tips to ensure a successful wood floor filling project:1. Prepare the Floor:
Start by thoroughly cleaning the floor to remove any dirt, debris, or grime that may interfere with the filler. For a deeper clean, consider using a wood floor cleaner.2. Apply the filler:
Using a putty knife, press the filler into the gaps or holes. Make sure to overfill slightly, as some fillers tend to shrink as they dry.3. Allow to dry:
Let the filler dry as per the manufacturer’s instructions. The drying time can vary depending on the type of filler and the size of the gap or hole.4. Sand the Excess:
Once the filler has completely dried, sand down the excess to create a smooth, even surface. It’s recommended to use fine-grit sandpaper to avoid scratching the floor.5. Clean the area:
After sanding, clean the area to remove any dust or debris.6. Apply Finish:
Finally, apply a finish to seal the filler and match the rest of the floor. This could be a stain, varnish, or a simple protective coating, depending on your floor type and personal preference.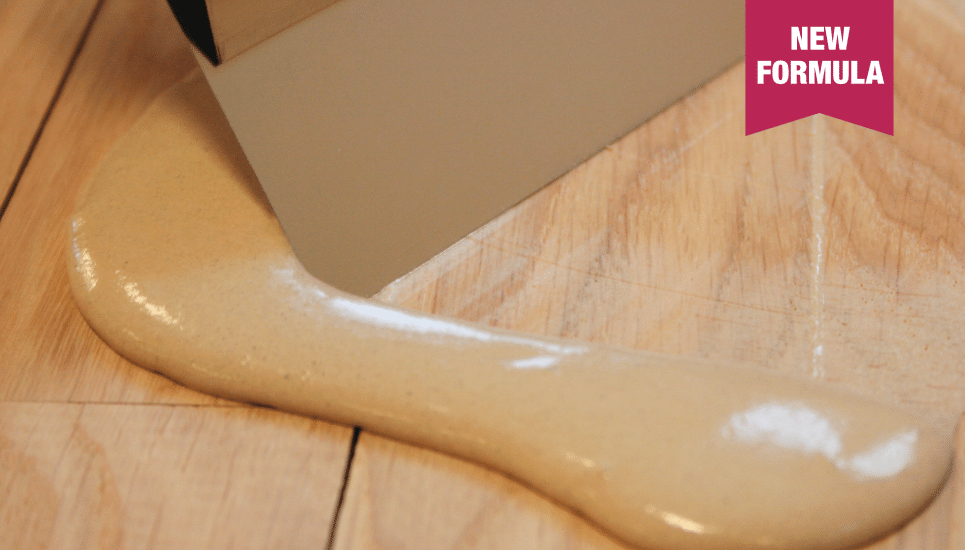
Tips for a Successful Wood Floor Filling
The following are some tips to ensure a successful wood floor filling project:1. Proper Timing:
The best time to fill your wooden floors is during the most humid time of the year. This is when the wood planks expand to their maximum width. Filling during this period ensures that the filler does not get squeezed out when the planks expand.2. Right Filler Shade:
Choosing the right shade of filler is essential for a seamless look. If you can’t find an exact match, opt for a slightly lighter shade, as fillers tend to darken slightly when a finish is applied.3. Correct Application:
When applying the filler, make sure to press it firmly into the gaps to ensure good adhesion. However, avoid excessive filler, as it might lead to difficulty in sanding later.4. Test Patch:
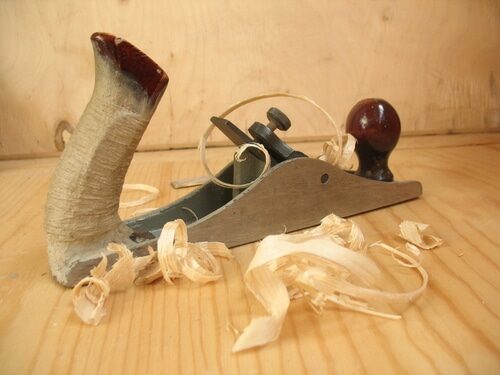
Always perform a test on a small, inconspicuous area before proceeding with the rest of the floor. This can help you identify any potential issues with the filler or the colour match.5. Use of Tools:
Use appropriate tools, such as a putty knife for application and fine-grit sandpaper for sanding. Proper tools can help achieve a more professional-looking result.6. Protection:
Don’t forget to protect yourself while working. Use gloves when handling the filler, and consider using a dust mask while sanding.Common Mistakes to Avoid
Even with the best intentions, mistakes can happen. Here are some common mistakes to avoid when filling your wood floors:1. Ignoring the Manufacturer’s Instructions:
Always follow the instructions provided by the filler manufacturer. This includes guidelines about preparation, drying times, and safety measures.2. Not Allowing Enough Drying Time:
One of the most common mistakes is not allowing the filler enough time to dry before sanding. This can result in a poor finish and may even require you to start the process all over again.3. Using the Wrong Filler:
Not all fillers are suitable for all types of wood floors. For instance, some fillers might not adhere well to certain wood species. Make sure to choose a filler that is compatible with your specific type of wood floor.4. Skipping the Finish:
Filling is not the final step. Applying a finish is crucial to sealing the filler and protecting your floor from further damage.Conclusion
Wood floor filling is a practical way to enhance the longevity and visual appeal of your wooden floors. By choosing the right filler, following the correct process, heeding our helpful tips, and avoiding common mistakes, you can successfully restore your wooden floors to their original charm. We hope this comprehensive guide provides you with valuable insights into the world of wood floor filling. Happy DIYing, and may your wooden floors always be a sight to behold!Some Useful Links:
- Floor Sanding Services
- School Floor Sanding
- Wood Floor Restorations
- Wood Floor Repairs
- Wood Floor Polishing
More from our Blog:
Answering Your Questions about Dustless Floor Sanding in 2023Best Floor Sanding Company: A Guide to Choosing Right Company
Comparing Wood Flooring in Circle Bath & Queen Elizabeth Hospitals
Understanding French Bleed Flooring: A Detailed Guide
How to Take Care of Your Wood Floor: A Comprehensive Guide
Refinishing Old Wood Flooring: Your Step-by-Step Guide to a New Lo

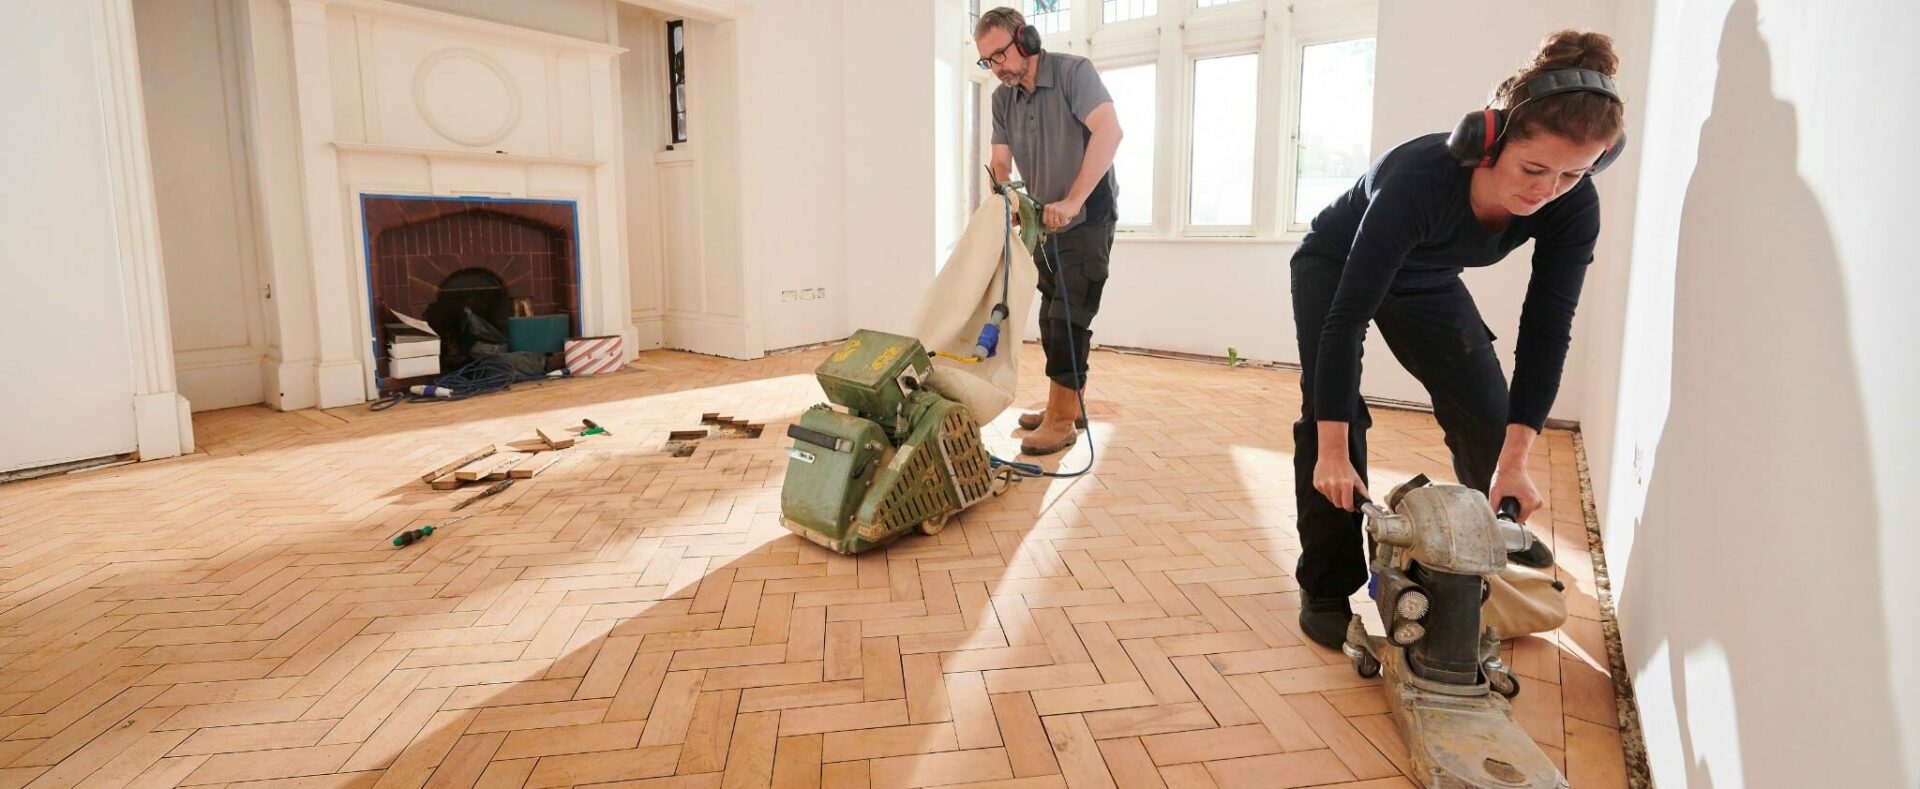
Sanding
We provide virtually dust-free sanding with our continuous belt machinery with mobile extraction units, giving you a safer environment for your family.
Oiling
This organic finish not only adds beauty to your home but also has exceptional water-repellent characteristics, making it easier to clean and maintain.
Waxing
This natural floor finish offers the softest and most mellow appearance – and leaves your floor able to breath.
Buffing
Using soft buffing machines (and hand-polishing where required) will bring a wonderful sheen to your newly-finished floor.
Repairs
We offer a full assessment of your wooden floors to determine what repairs are needed to provide the perfect working surface for the later stages of sanding, staining and sealing.
Restoration
We offer a comprehensive restoration process designed to address floors that are improperly fitted or damaged over time through wear and tear.
Request a fixed price quote for your wood floor restoration now
Simply enter your postcode below to get started.
Services
Wood Floor Sanding Wood Floor Restoration Wood Floor Scratch Repair Squeaky Wood Floor Repair Parquet Floor Sanding Parquet Floor Restoration Commercial Floor Sanding Church Floor Sanding Community Centre Floor Sanding School Floor Sanding Gap Filling Gap Filling with ResinCopyright © Mr Sander®
Privacy & Cookies Terms & Conditions Complaints Procedure Cancellation Rights Sitemap

Get An Instant Price Estimate Before You Go…
Simply enter the rooms you need sanded and we’ll provide you with a price estimate instantly! Try our price calculator now.
Get a Price Estimate NowLocal Floor Sanding Experts
Over 500 5-Star Reviews
Safe, Dust Free Sanding
Operating Since 1994